Contents
- 1 Introduction
- 2 Materials and Tools Needed
- 3 Step 1: Choosing the Right Mold
- 4 Step 2: Preparing Your Workspace
- 5 Step 3: Melting and Coloring the Chocolate
- 6 Step 4: Pouring Chocolate into the Mold
- 7 Step 5: Assembling the Features
- 8 Step 6: Adding Fine Details
- 9 Step 7: Troubleshooting Common Issues
- 10 Step 8: Storing and Displaying the Finished Piece
- 11 FAQs About Lightning McQueen Chocolate Mold
- 12 Conclusion
- 13 Recommended Articles:
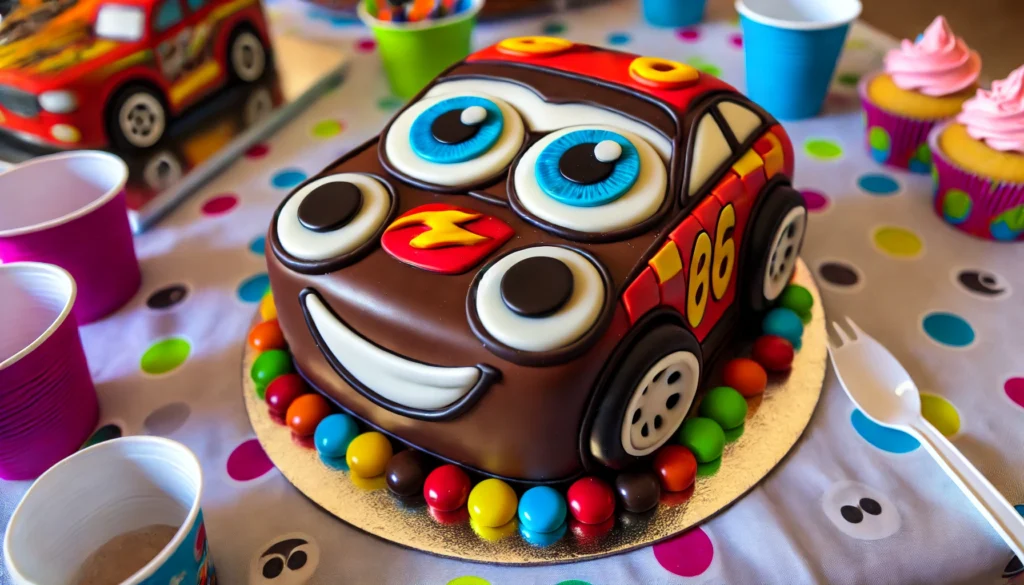
Introduction
If you are a fan of Disney Pixar’s Cars and want to create a themed cake or chocolate decoration, making a Lightning McQueen eyes and mouth chocolate mold is a fantastic idea! This guide will walk you through the entire process, from choosing the right mold to adding the final details that bring the character to life. Whether you are a beginner or a seasoned confectioner, this tutorial will ensure your creation looks stunning and tastes delicious.
Materials and Tools Needed
To make an accurate and high-quality Lightning McQueen chocolate mold, you will need:
| Materials | Tools |
|---|---|
| High-quality chocolate (red, white, and black) | Silicone molds (eyes and mouth shape) |
| Oil-based food coloring | Food-safe paintbrushes |
| Edible paints for detailing | Double boiler or microwave |
| Parchment paper | Thermometer |
| Small spatulas | Spoons |
Having all the materials ready before you start will make the process smooth and efficient.
Step 1: Choosing the Right Mold
Finding the perfect mold for Lightning McQueen’s eyes and mouth is essential for achieving an accurate design. You can either:
- Purchase a pre-made Lightning McQueen mold from baking supply stores or online retailers.
- Create a custom mold using a food-safe silicone mold-making kit, if you want precise customization.
Using a high-quality silicone mold ensures a smooth, detailed finish and makes it easier to release the chocolate without breaking.
Step 2: Preparing Your Workspace
Before melting the chocolate, ensure your workspace is clean and organized. Wipe down all surfaces, and gather all ingredients within easy reach. Avoid moisture in the area, as water can cause chocolate to seize and become grainy.
Step 3: Melting and Coloring the Chocolate
To achieve the signature colors of Lightning McQueen’s eyes and mouth, follow these steps:
- Melt the Chocolate:
- Use a double boiler for gentle melting. If using a microwave, heat the chocolate in 15-second intervals, stirring in between to avoid burning.
- Coloring the Chocolate:
- To get Lightning McQueen’s red hue, use oil-based red food coloring.
- For the whites of the eyes and teeth, use white chocolate with no added color.
- The mouth outline and pupils can be made with dark or black-colored chocolate.
Proper coloring is essential for achieving an authentic look.
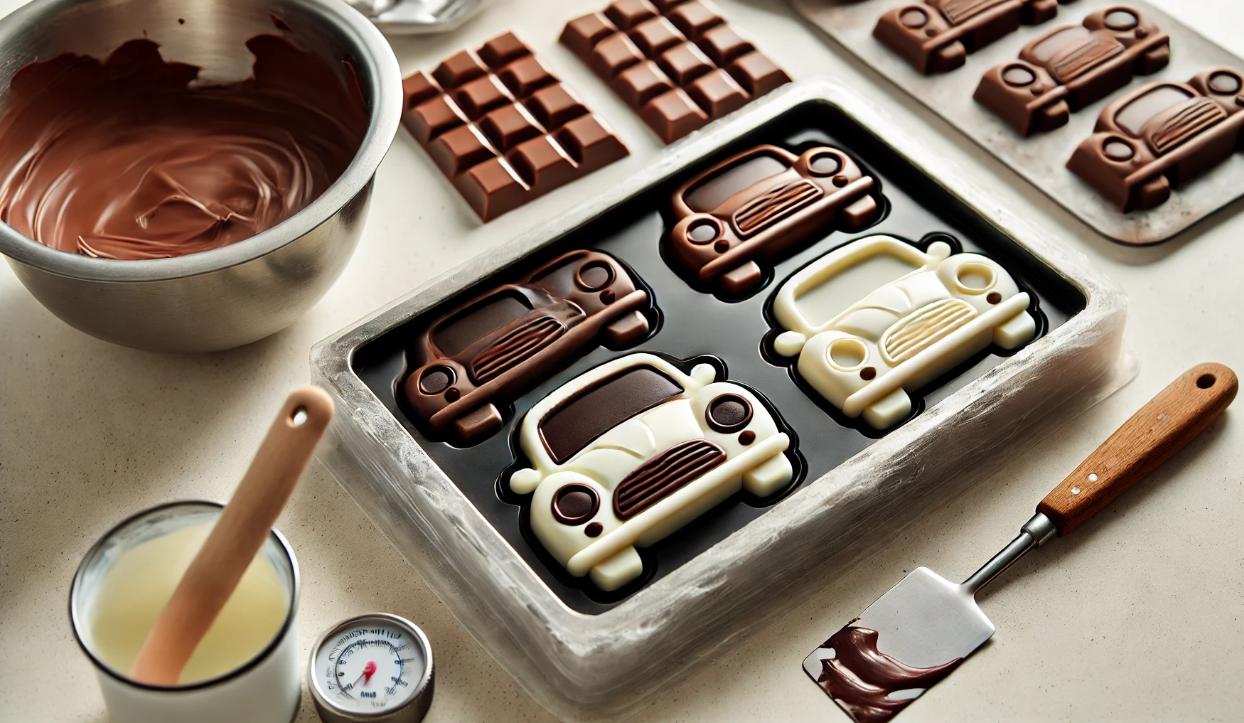
Step 4: Pouring Chocolate into the Mold
Once the chocolate is melted and colored correctly, carefully pour it into the mold.
- Fill the eye molds with white chocolate and the pupil section with black.
- For the mouth, fill the main section with white chocolate for the teeth and use dark chocolate for the outline.
- Tap the mold lightly on the counter to remove air bubbles, ensuring a smooth finish.
Place the filled molds in the refrigerator for 20-30 minutes until fully set.
Step 5: Assembling the Features
After the chocolate has set, carefully remove the pieces from the mold. To attach them securely to a cake or larger chocolate piece:
- Use melted chocolate as a “glue” to adhere the eyes and mouth to your design.
- Position them correctly, ensuring Lightning McQueen’s iconic expression is well-replicated.
- Hold in place for a few seconds until firm.
Step 6: Adding Fine Details
To enhance the realism of your Lightning McQueen eyes and mouth chocolate mold, add details using edible paint and brushes:
- Lightly shade around the eyes to create depth.
- Outline the mouth to define the shape clearly.
- Add highlights for a glossy, animated look.
These extra touches will make your design stand out beautifully.
Step 7: Troubleshooting Common Issues
If you face any problems, here are some solutions:
| Problem | Solution |
| Chocolate stuck in the mold | Lightly grease the mold before pouring chocolate. |
| Air bubbles in chocolate | Tap the mold on the counter before setting. |
| Chocolate breaking when removing | Allow it to set completely before attempting removal. |
| Color not vibrant | Use oil-based food coloring for best results. |
Step 8: Storing and Displaying the Finished Piece
- Store the chocolate in a cool, dry place away from sunlight.
- Avoid refrigeration, as condensation can damage the appearance.
- Display on a themed cake or serve as a standalone treat at Cars-themed parties!
FAQs About Lightning McQueen Chocolate Mold
Can I make a multi-layered Lightning McQueen chocolate mold?
Yes, you can create a multi-layered effect by pouring different colored chocolates in stages and allowing each layer to set before adding the next.
What is the best way to clean the silicone mold after use?
Wash the mold with warm soapy water and let it air dry. Avoid using abrasive sponges to prevent damage.
Can I add flavoring to the chocolate without affecting the texture?
Yes, but use oil-based flavorings instead of water-based ones to prevent the chocolate from seizing.
How can I achieve a glossy finish on my chocolate mold?
Proper tempering and using a clean, dry mold will help create a smooth, glossy finish.
Is it possible to use edible glitter or luster dust on the chocolate mold?
Absolutely! Edible glitter or luster dust can be brushed on after the chocolate has set to give it a sparkling effect.
Conclusion
Making a Lightning McQueen eyes and mouth chocolate mold is a fun and rewarding experience, whether for a birthday cake or a themed party. By following these detailed instructions, you can create a professional-looking design that captures the magic of Cars.
Recommended Articles:
- Arikytysa: The Complete Guide to Her Life, Career, and Influence
- Kiesterwata: A Deep Dive into Its Meaning and Significance
- The Life and Legacy of Preston Lee Adcock